

Key Takeaways
- Most interior paint failures - peeling, bubbling, or uneven finish - trace back to skipped prep steps.
- Cleaning walls before painting is non-negotiable; grease and dust prevent paint from bonding correctly.
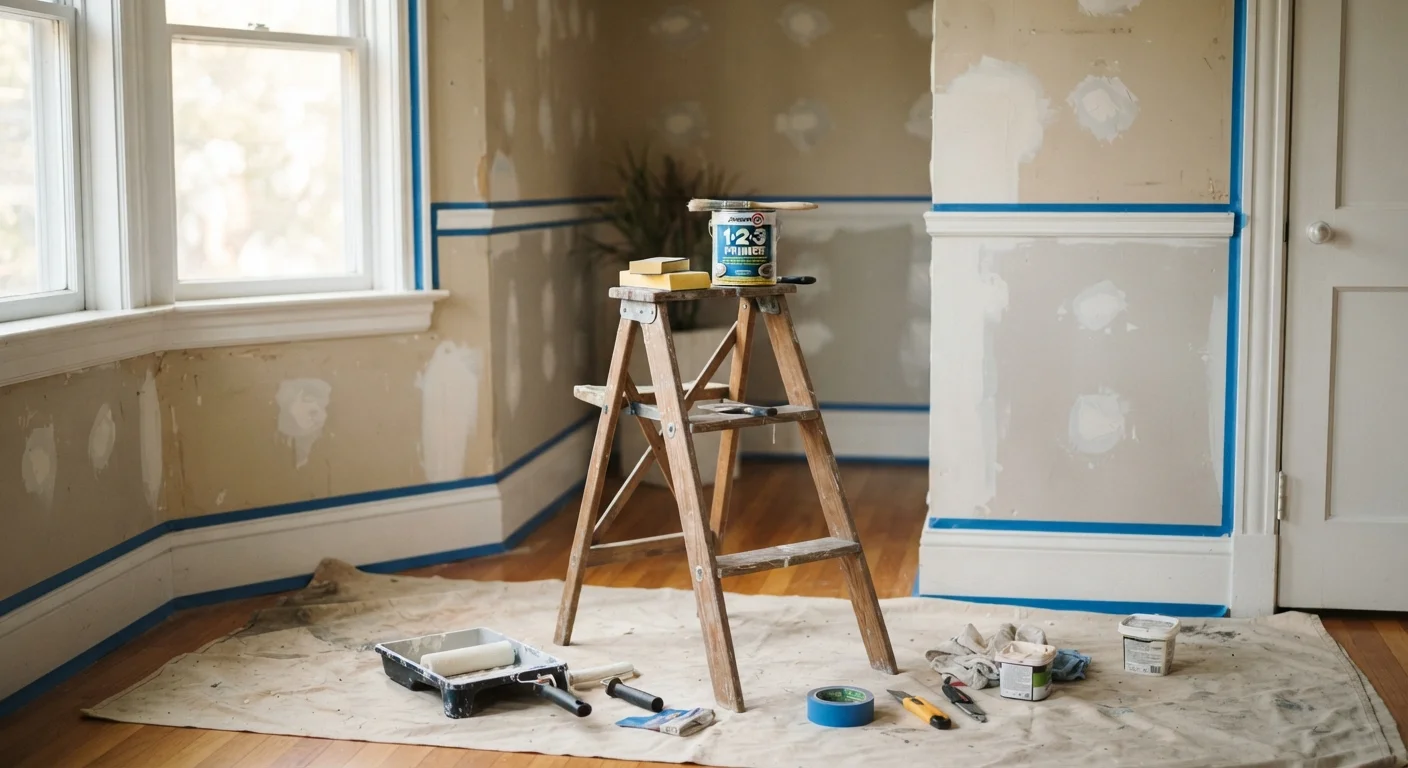
- Priming is especially critical over repairs, new drywall, dark colors, and stain-prone surfaces.
- Small cracks and holes require the right filler material; not all patching compounds perform the same way.
- Sanding between prep stages - not just at the beginning - produces a noticeably smoother final result.
Why Prep Work Decides the Outcome
A common misconception among first-time painters is that paint quality does most of the work. In reality, the condition of the surface beneath the paint determines whether a finish looks professional or starts failing within a season. Peeling edges, visible roller marks, and blotchy color are almost always the result of inadequate preparation - not inferior paint.
Think of surface prep as building a foundation. Even a premium paint applied to a dirty, glossy, or damaged wall will struggle to bond, cure evenly, or resist wear. The paint can't fix underlying problems - it exposes them. Before you even reach for a roller, the real job has already begun.
If you're redecorating after a larger room refresh, it also helps to clear the room first - working around furniture and clutter makes proper prep nearly impossible.
The Prep Steps That Actually Matter
Not every wall needs the same treatment, but the following sequence applies to most interior painting projects. Skipping steps - especially cleaning and priming - is the most common reason painted walls don't hold up over time.
It's worth noting that some renovation assumptions can cost you significantly. For instance, the idea that you can always skip primer is addressed directly in our piece on home renovation myths that lead to costly decisions. Primer isn't optional - it's the adhesion layer that makes everything above it work.
Priming, Patching, and What Pros Know
Primer is one of the most misunderstood products in the painting process. Many homeowners assume it's only needed on bare drywall, but primer is actually essential whenever you're going from dark to light, covering stains or water damage, painting over a high-gloss surface, or working on a wall that's been patched. Without it, you may need three or four coats of paint to achieve what two coats over primer would deliver.
Older Homes and Lead Paint
Homes built before 1978 may have layers of lead-based paint beneath current finishes. Sanding or disturbing these surfaces without proper precautions poses a health risk. If your home falls into this category, use an inexpensive lead test kit before sanding, and consult a licensed lead-safe renovation contractor if lead is detected. Do not attempt to sand lead paint without appropriate EPA-recommended containment and protective equipment.
When patching holes or cracks, match the filler to the size of the repair. Small nail holes take lightweight spackling; deeper or wider gaps need a joint compound with a mesh tape backing or a more rigid patching material. Allow each application to dry fully and sand flush - a slightly raised patch will telegraph through even multiple coats of paint.
Consistent wall cleanliness also plays a role beyond just prep. Surfaces that accumulate grease, smoke residue, or airborne grime over time are harder to work with later. Staying on top of seasonal wall and surface cleaning makes future paint jobs easier and helps finishes last longer.
80%
Paint failures linked to surface prep
Industry painters and finishing professionals broadly estimate that the large majority of coating failures - peeling, bubbling, and adhesion loss - result from inadequate surface preparation rather than paint quality.
2-3×
More coats needed without primer
Painting over porous, stained, or repaired surfaces without primer typically requires significantly more topcoat passes to achieve even color coverage and sheen.
One final detail that separates a flat, amateurish result from a smooth, durable one: sanding. After patching dries, sand the repair flush. After primer dries, lightly sand the entire wall with fine-grit paper before your first paint coat. This removes any raised grain or texture inconsistency and gives the paint the best possible surface to grip.
This article is for general informational and educational purposes only. Always verify local building codes and, for projects involving structural elements or hazardous materials such as lead paint, consult a licensed professional before proceeding.