

Key Takeaways
- Decluttering before redecorating prevents you from designing around things you no longer need.
- Working room by room keeps the process manageable and prevents decision fatigue.
- Every item you remove reduces visual weight, which can make a space feel larger immediately.
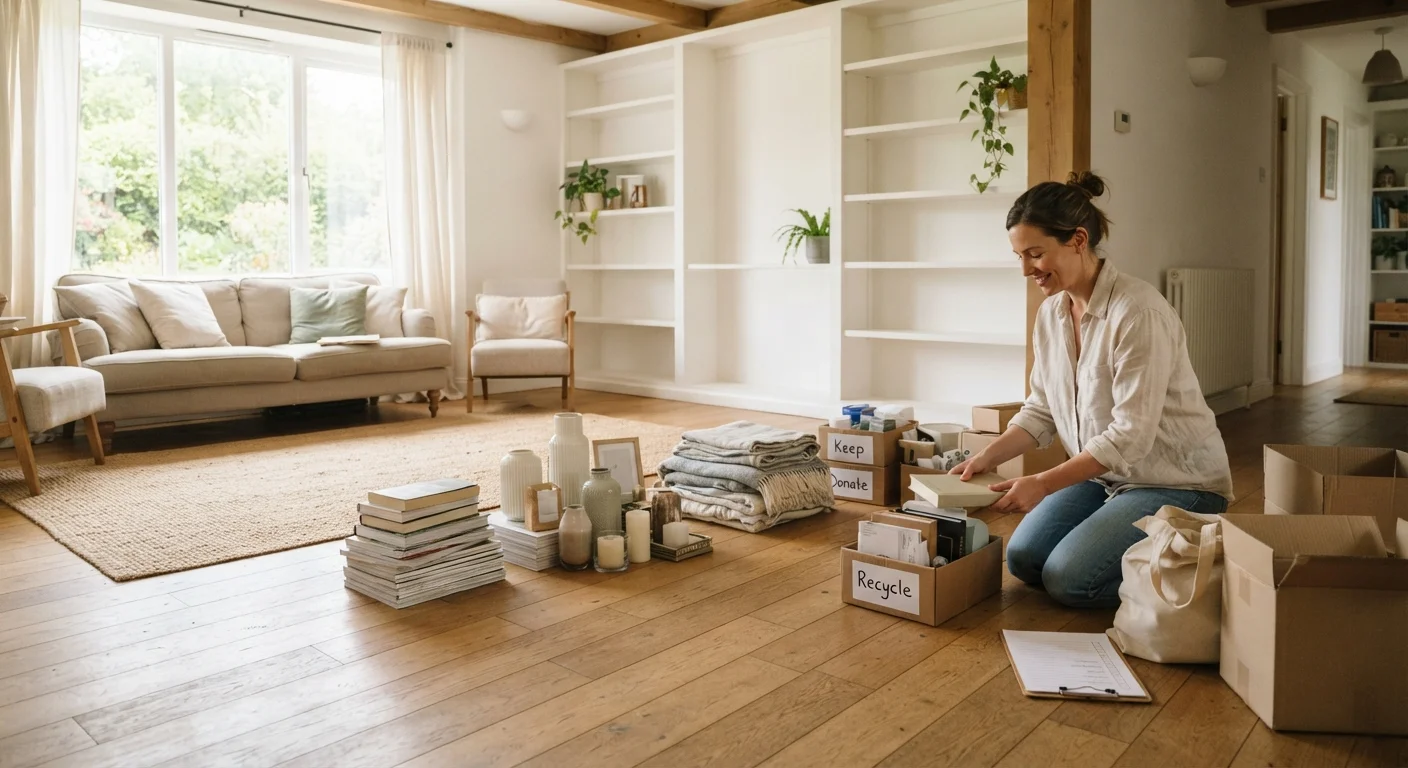
- Sorting items into clear categories (keep, donate, discard) speeds up the process significantly.
- A decluttered room reveals your actual square footage, sightlines, and natural light.
Summary
24 items · 1.5-3 hours depending on home size
Why You Should Declutter Before You Decorate
Redecorating on top of clutter is like painting over a wall without priming it - the underlying problem doesn't disappear, it just gets hidden. When you commit to clearing each room before you bring in anything new, you discover what you're actually working with: the real footprint of the space, how light moves through it, and which existing pieces genuinely belong.
If a room still feels cramped even after you've made changes, the issue is often not furniture - it's accumulated objects creating visual noise. Our guide on why your room feels crowded even after you removed furniture digs into visual weight and sightlines, which are far easier to address on an empty stage.
Use this walkthrough one room at a time. Trying to tackle the whole home in a single day typically leads to abandoned sorting piles and decision fatigue. Instead, set a realistic schedule using the time estimate above and work through each space with intention.
Avoid Sorting Everything at Once
Pulling items from multiple rooms simultaneously creates chaos that's hard to walk back. Stick to one room at a time and fully resolve each space - including removing donation and discard bags from the home - before moving to the next. Partially sorted rooms are a leading cause of abandoned decluttering efforts.
What You'll Need Before You Start
Gather your supplies before entering any room. Stopping mid-sort to find a trash bag or marker breaks concentration and slows momentum considerably.
Large trash bags (heavy duty)
Used to collect discarded items and bag donations without multiple trips.
Labeling markers and masking tape
Label sorted boxes or bags clearly as Keep, Donate, or Discard to avoid re-sorting.
Medium cardboard boxes (3-5)
Contain keep and donate items by room so they stay organized during the process.
Notepad or notes app
Track items you flag for donation pickup, furniture to measure, or decorating observations room by room.
Tape measure
Measure cleared floor space and wall dimensions to inform decorating decisions once rooms are empty.
The Room-by-Room Checklist
Work through each group in the order presented. The categories move from high-traffic, high-clutter zones to smaller transitional spaces. Mark each item as you go - completing visible checkboxes reinforces momentum.
Living Room
Kitchen and Dining Area
Bedroom
Bathroom
Entryway and Hallways
For spaces with accumulated electronics - old chargers, orphaned remotes, tangled cables - our room-by-room tech audit guide runs a parallel process worth combining with this one.
Dispose of Hazardous Items Responsibly
Old paint, batteries, electronics, cleaning chemicals, and medications should not go in standard household trash. Many municipalities offer designated drop-off sites or periodic collection events for these materials. Check your local waste management authority's website for accepted items and drop-off locations before your declutter day.
After the Declutter: Your Next Steps
Once each room has been cleared and cleaned, resist the urge to immediately fill it back up. Live in the space for at least a day or two before making decorating decisions. You'll often find that certain areas feel complete with far less than you expected.
When you're ready to decorate, you don't need a large budget to make meaningful changes. Purposeful styling - choosing fewer, better-placed objects - consistently outperforms filling every surface. See our guide to decorating on a budget for practical strategies that work at any spending level.
If you rent, some of your decorating options will differ. Review what you can and cannot change in a rental home before committing to any changes. And for keeping your newly organized home in shape going forward, the room-by-room home maintenance calendar is a practical companion resource. For broader household organization strategies, the Household Management hub is a strong starting point.