

Key Takeaways
- Starting with a single room lets you learn the technology before committing to a full-home rollout.
- Choosing a compatible ecosystem early prevents expensive device conflicts down the road.
- High-traffic rooms like the living room and entryway typically offer the fastest return on investment.
- Subscription fees and hub requirements can add hidden ongoing costs to any smart home setup.
- Security and privacy settings should be configured from the very first device you install.
What you will need
Why a Room-by-Room Strategy Makes Sense
The appeal of a fully automated home is easy to understand - lights that adjust automatically, a thermostat that learns your schedule, locks you can control from anywhere. But attempting to wire an entire house with smart devices all at once is one of the most common ways people end up frustrated, over budget, and stuck with incompatible gadgets collecting dust.
A phased, room-by-room approach solves several problems simultaneously. It limits your financial exposure at each stage, gives you time to develop real fluency with the devices you install, and lets you evaluate whether a given technology actually improves your daily life before scaling it further. Think of it less as a renovation and more as a series of deliberate experiments.
Before choosing a single device, take stock of your home's existing infrastructure. Your Wi-Fi coverage, router capabilities, and electrical wiring all shape what's practical. If you rent, the constraints are even more specific - see our guide on smart home options for renters for a realistic picture of what's possible without risking your security deposit.
What you will need
Choosing Your Ecosystem Before You Buy Anything
The single most consequential decision in any smart home build is ecosystem selection - and it's one many people make accidentally by grabbing whatever device is on sale. The major platforms (broadly, those built around voice assistants and hub-based control) each have different strengths, device compatibility ranges, and long-term support trajectories.
The emergence of the Matter standard - a cross-industry protocol designed to make smart devices work across ecosystems - has improved interoperability significantly, but not every device supports it yet. When comparing options, check whether devices are Matter-certified or at least compatible with the platform you intend to anchor your home around.
Check Compatibility Before You Buy
Always verify that a device explicitly supports your chosen ecosystem before purchasing. Marketing language like "works with Alexa" or "Google Home compatible" can mean different things - some integrations are limited to basic on/off control, while others support full automation. Review the device's spec sheet or community forums for details on actual integration depth.
For a detailed look at the trade-offs of committing to one platform versus mixing ecosystems, see the pros and cons of centralizing on a single smart platform. And before you spend anything, review the hidden costs first-time buyers often overlook - subscription fees and hub requirements can materially change the total cost of ownership.
The Recommended Room-by-Room Build Order
While every household is different, a consistent logic applies to sequencing your smart home build. Start where the impact is highest and the installation complexity is lowest, then expand outward.
Start with the living room: lighting and voice control
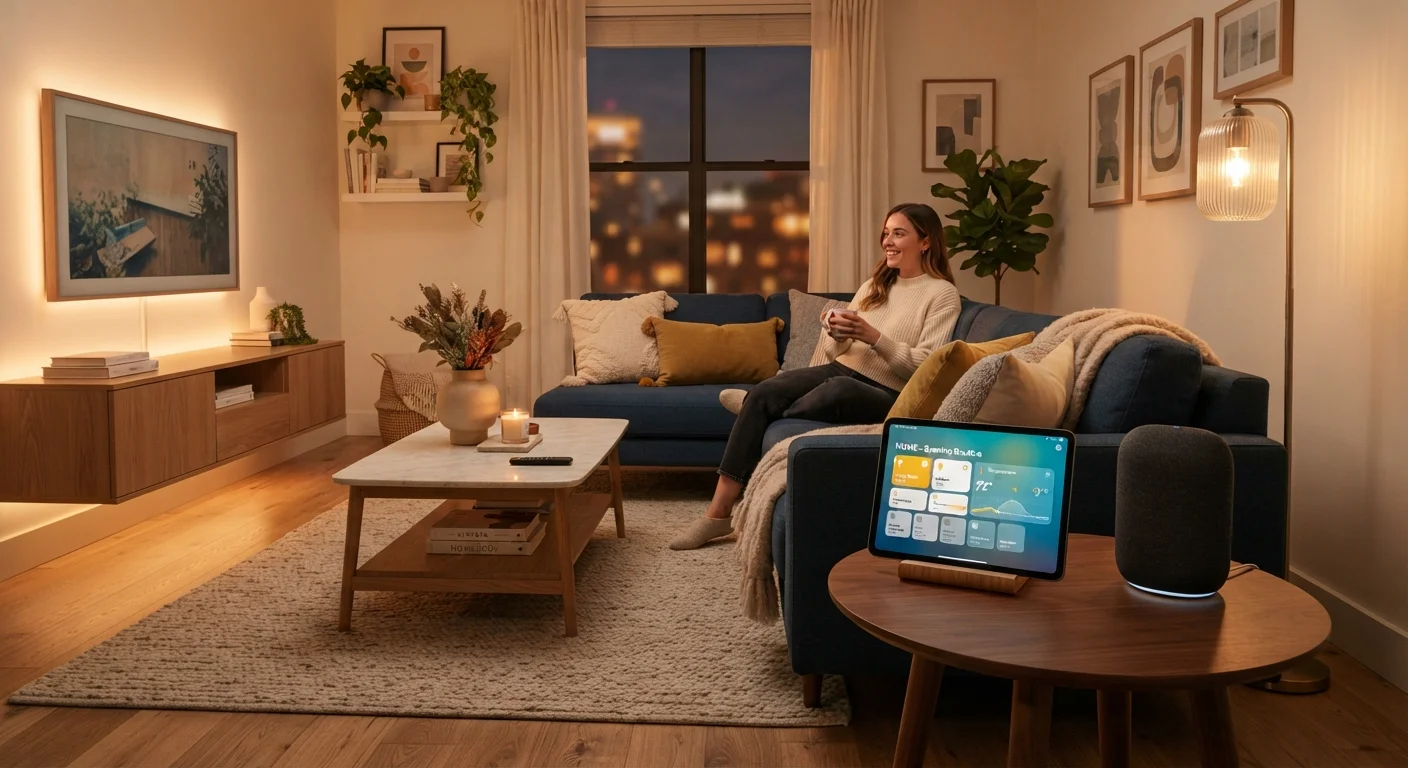
The living room is the natural starting point. Smart bulbs or a smart light switch, paired with a voice assistant hub, introduce you to the core mechanics of the ecosystem - app control, scheduling, and voice commands - without requiring any complex installation. These devices are also easy to remove or replace if you change direction.
Move to the entryway: smart lock and doorbell camera
Once you're comfortable with the basics, the entryway is the next logical step. A smart lock and a video doorbell provide immediate, tangible utility - remote access monitoring, delivery alerts, and keyless entry for family members. Both device categories have broad ecosystem compatibility and straightforward installation for most US residential door types.
Address the thermostat: whole-home climate control
A smart thermostat is one of the highest-impact upgrades in terms of daily convenience. Most models support scheduling, geofencing (adjusting temperature based on whether you're home), and integration with other devices. Installation is typically DIY-friendly for standard US HVAC systems, but verify your system's wiring compatibility before purchasing any model.
Expand to the bedroom: sleep-aware automations
Smart lighting with warm color temperature settings, a smart plug for a bedside lamp, or a motorized shade can significantly improve sleep hygiene by automating the wind-down environment. Keep bedroom automations simple - the goal is passive comfort, not complexity.
Finish with the kitchen and utility areas
Smart plugs, leak detectors under the sink, and a connected smoke or CO detector round out the practical layer of a smart home. Leak sensors in particular offer outsized value relative to their cost - water damage is one of the most common and expensive home insurance claims in the US. These additions also integrate cleanly into the automations and alerts you've already configured in earlier rooms.
Once you've established devices across multiple rooms, the real power of a smart home emerges through automation. Our guide to routines, scenes, and automations explains how to connect devices across rooms into coordinated behaviors - for example, a single "Good Morning" routine that adjusts the thermostat, turns on lights, and unlocks a specific door at a set time.
Keeping Your Setup Secure as It Grows
Every connected device you add is also a potential entry point into your home network. This is not a reason to avoid smart home technology, but it is a reason to treat security as a first-class concern from day one - not an afterthought once your setup is large.
At minimum, use a dedicated network segment (such as a guest Wi-Fi network) for your smart devices, keep firmware updated on every device and your router, and change default passwords immediately on setup. Our smart home security checklist walks through the full audit process in practical terms.
Never Skip Default Password Changes
A large number of smart home security incidents involve devices still running factory-default usernames and passwords. Change credentials on every device and its associated app account immediately after setup. Where available, enable two-factor authentication on your smart home platform account - this single step significantly reduces your exposure to unauthorized access.
A well-planned smart home also integrates cleanly with the rest of your living space. If you're redesigning rooms as you upgrade them, the household management strategies hub and the guide to balancing natural and artificial lighting are useful companions for thinking about how smart lighting fits into the broader design of each room.