

Key Takeaways
- Hole size determines the correct repair method: small, medium, and large holes each require a different approach.
- Joint compound needs adequate drying time between coats - rushing this step leads to cracking and visible seams.
- Feathering compound edges and sanding between coats are what make a patch invisible after painting.
- Large holes need a backing board or drywall clip to support a new patch piece before taping and mudding.
- Proper surface prep before painting is essential to make the repaired area match the surrounding wall.
What you will need
Understanding the Scope of Your Repair
Not every drywall wound is treated the same way. A nail hole left by a picture frame is a one-minute fix. A fist-sized impact from a doorknob, or a section cut out for plumbing access, is a more involved repair requiring structural backing and multiple coats of compound. Getting the method right from the start saves time, materials, and frustration.
For the purposes of this guide, holes fall into three categories:
- Small holes (under ½ inch): Nail holes, small dents, and hairline cracks.
- Medium holes (½ inch to 6 inches): Doorknob impacts, screw anchors pulled through, and localized damage.
- Large holes (over 6 inches): Access cutouts, severe impact damage, or water-damaged sections requiring full panel replacement.
Before you begin any repair, assess whether the damage is isolated or a symptom of a larger problem - such as moisture intrusion or settling. Water-stained or soft drywall should be evaluated for the underlying cause before patching.
What you will need
Tools and Materials You'll Need
Having the right materials staged before you start prevents mid-job interruptions. The list scales with the size of the repair.
Lightweight joint compound ("mud")
Used to fill, coat, and feather patches smooth across all repair sizes.
Putty knife (3-inch and 6-inch)
Applies and spreads joint compound for small and medium patches.
Drywall knife / utility knife
Cuts damaged drywall cleanly when removing a section for a large-hole repair.
Self-adhesive mesh drywall tape
Reinforces seams and edges on medium and large patches to prevent cracking.
Drywall patch kit or California patch piece
Provides a backing and surface material for medium-sized holes without requiring studs.
Backing board (wood furring strip or 1×3)
Screwed inside the wall cavity to support a new drywall piece on large repairs.
Sandpaper (120- and 220-grit) or sanding sponge
Smooths dried compound between coats and before painting.
Dust mask and safety glasses
Protects against fine drywall and compound dust during sanding.
For all repairs, work in a well-ventilated space and allow joint compound to dry fully - typically 24 hours per coat under normal indoor humidity - before sanding or applying additional coats.
Step-by-Step Repair Instructions
Follow the steps below based on the size of your repair. Steps 1-3 apply to small holes; continue through Step 7 for medium holes; and follow all steps for large-section repairs.
Clean and Prep the Damaged Area
Remove any loose paper, crumbled drywall, or debris from around the hole. For small holes, use a putty knife to scrape away any raised edges. For medium and large holes, use a utility knife to cut back to clean, solid drywall - typically back to the nearest stud or to a square shape you can work with.
Fill Small Holes Directly
For nail holes and small dents under ½ inch, load a small amount of lightweight joint compound onto a 3-inch putty knife. Press it firmly into the hole, then draw the knife flat across the surface to remove excess. The goal is a flush fill, not a raised bump. Allow to dry completely.
Sand, Spot-Check, and Finish Small Holes
Once dry, sand lightly with 120-grit sandpaper. Run your hand across the surface - if you feel any ridge, apply a thin skim coat of compound, let it dry, and sand again. Finish with 220-grit for a smooth surface ready for primer.
Back and Secure Medium Holes
For holes between ½ inch and 6 inches, a self-adhesive mesh patch kit or the California patch technique works well. For the California patch: cut a drywall piece slightly larger than the hole, score and snap off the gypsum from a border on the back, leaving a paper flap on each side. Insert the gypsum core into the hole and press the paper flaps onto the surrounding wall face. Secure with compound.
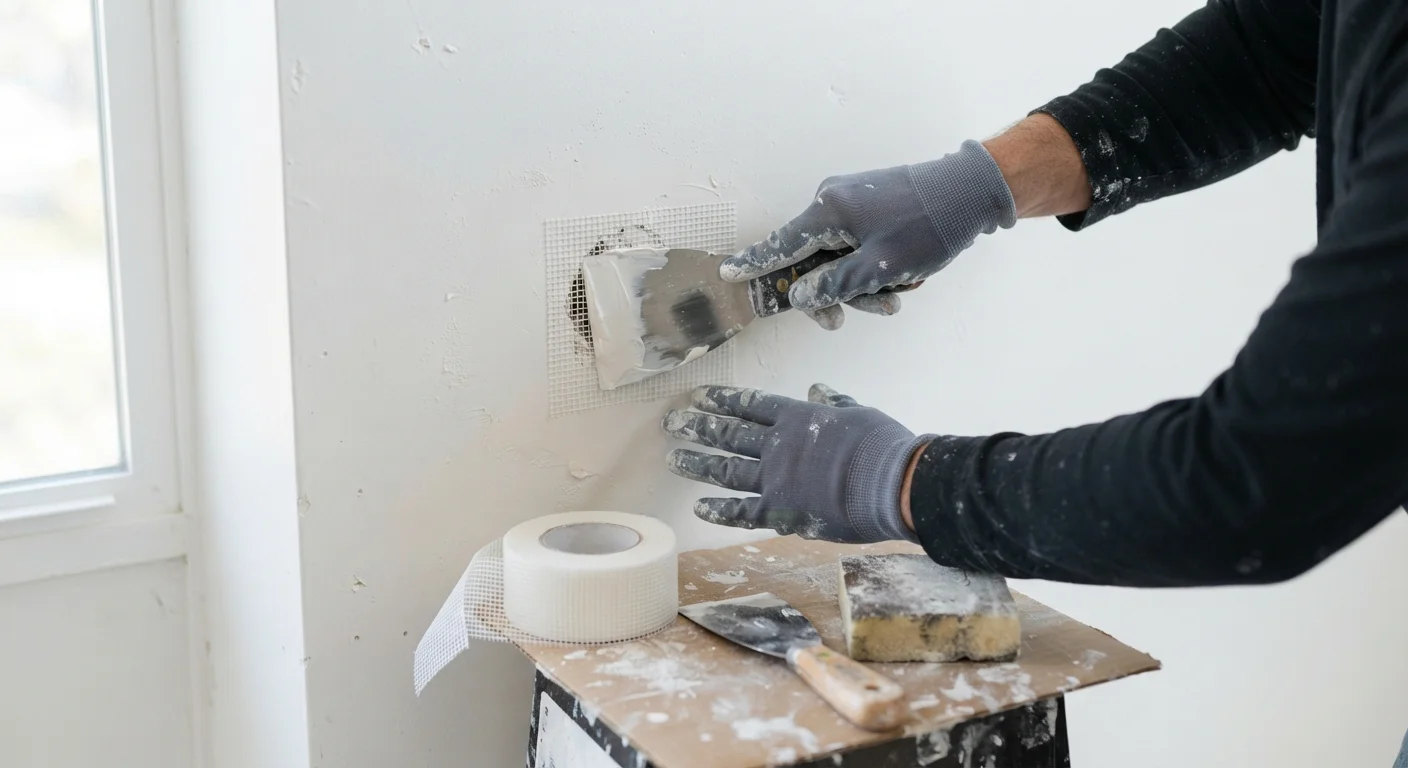
Apply Mesh Tape and First Coat of Compound
Apply self-adhesive mesh tape over all seams and edges of the patch. Using a 6-inch knife, spread a thin, even first coat of joint compound over the tape and patch face, feathering the edges outward onto the surrounding wall. Allow to dry fully - do not attempt to speed this up with a heat gun, which can cause cracking.
Install Backing for Large Holes and Attach New Drywall
For holes over 6 inches, cut the damaged area back to a clean rectangle. Cut two furring strips or 1×3 boards several inches longer than the hole height and insert them vertically inside the wall cavity, one on each side. Screw them to the existing drywall edges to create a solid nailing surface. Cut a new piece of drywall to fit the opening and screw it into the backing boards every 6-8 inches. Apply mesh tape to all four seams.
Apply Second and Third Coats, Feathering Wide
After the first coat is fully dry, sand lightly with 120-grit paper to knock down ridges. Apply a second coat of compound with a wider knife (10-12 inch if available), extending the feathered edges 4-6 inches beyond the first coat. Repeat with a third thin skim coat once the second is dry. Each coat should be thinner and wider than the last. Sand final coat with 220-grit until the surface is flush and smooth to the touch.
Match Wall Texture Before Painting
If your walls have a texture - orange peel, knockdown, or skip-trowel - the smooth-sanded patch will stand out even under paint. Practice matching the texture on a piece of scrap drywall before applying it to the wall. Many textures can be approximated with a sponge, a spray can of texture, or specific trowel techniques. Always apply texture before priming.
Once your patch is fully sanded smooth and the surface texture matches the surrounding wall, it is ready for priming and painting. A quality primer coat is especially important over fresh compound - skipping it often results in a dull, mismatched sheen called flashing. For a thorough walkthrough of what comes next, see our guide to interior wall surface prep.
Common Mistakes and How to Avoid Them
Drywall patching is forgiving, but a few recurring errors consistently produce visible results:
- Applying compound too thick in one coat. Thick layers crack as they dry. Build up in thin passes instead.
- Skipping the second or third coat. Joint compound shrinks as moisture evaporates. One coat is almost never enough for a flat, seamless surface.
- Not feathering the edges. Each successive coat should extend several inches beyond the previous one, blending gradually into the flat wall. This is the technique that makes patches disappear.
- Sanding too aggressively. Over-sanding can scuff the paper face of the surrounding drywall, creating a texture difference that shows through paint.
- Skipping primer before paint. Bare compound absorbs paint unevenly. Always prime before finishing.
Know When to Call a Professional
Drywall repairs that expose signs of water damage, mold, structural damage, or compromised insulation are beyond the scope of a standard patch job. Similarly, if damage is adjacent to electrical panels, gas lines, or load-bearing elements, stop and consult a licensed contractor. Patching over an unresolved moisture source will only lead to the same damage recurring.
With patience and the right sequence, most drywall repairs are well within the reach of a careful DIYer. The quality of the finish depends far less on special equipment than on allowing adequate drying time and taking the feathering and sanding stages seriously.