

Key Takeaways
- Caulk seals stationary joints; weatherstripping seals moving parts like door edges and operable window sashes.
- Using the wrong material - caulk on a moving door, for instance - leads to cracking, peeling, and wasted effort.
- Most homes need both products applied in different locations to effectively stop air infiltration.
- Weatherstripping wears out over time and should be inspected seasonally, especially before winter.
- Both materials are low-cost DIY projects that can reduce heating and cooling energy loss noticeably.
Option A
Caulk
The permanent gap-filler for stationary surfaces.
Best for: Sealing fixed joints and cracks where two surfaces meet and don't move, such as window frames against siding or trim against walls.
Option B
Weatherstripping
The flexible, compressible seal for moving parts.
Best for: Blocking air gaps along the edges of doors and operable windows that open and close repeatedly.
If you're sealing gaps around a window frame that doesn't open
Caulk
Fixed frames don't flex or move, so a rigid, paintable caulk bead creates a durable, airtight bond without cracking from friction.
If you're stopping drafts around a door that opens and closes daily
Weatherstripping
Weatherstripping is designed to compress and recover repeatedly, maintaining a seal through thousands of open-close cycles that would destroy caulk.
If you're tackling an older home with multiple gap types throughout
Both caulk and weatherstripping
Older homes typically have both fixed-joint failures and worn door seals. A thorough air-sealing job requires applying each product where it belongs.
If you need a quick, low-cost seasonal fix for a drafty door
Weatherstripping
Self-adhesive foam or V-strip weatherstripping installs in minutes and can be replaced each season without surface prep or curing time.
Why Air Sealing Matters Before You Choose a Product
Air infiltration - drafts sneaking in through small gaps - is one of the leading causes of energy loss in American homes. The U.S. Department of Energy estimates that sealing air leaks can reduce heating and cooling costs meaningfully for many households. But no single product handles every gap. Caulk and weatherstripping address different failure points, and using one where the other belongs often means redoing the job within a season.
Before reaching for either product, identify whether the gap you're sealing is stationary (two surfaces that never move relative to each other) or dynamic (surfaces that separate and reconnect when you open and close something). That single distinction determines which material will hold up.
Up to 30%
Heating/cooling energy lost to air leaks
The U.S. Department of Energy notes that air leaks can account for up to 30% of a home's heating and cooling energy use.
$5-$30
Typical cost of a DIY weatherstripping project
Most door weatherstripping kits cover a standard exterior door and are available at hardware stores for a modest upfront cost.
For broader thermal protection beyond air sealing, see our guide to insulation types for American homes - insulation and air sealing work together, but they solve different problems.
Caulk vs. Weatherstripping: A Side-by-Side Look
The table below captures where each product excels, what it's made of, and what to expect from installation and longevity.
| Criterion | Caulk | Weatherstripping |
|---|---|---|
| Best surface type | Stationary, non-moving joints | Moving edges, operable gaps |
| Common materials | Silicone, latex, siliconized latex | Foam tape, V-strip, rubber bulb, sweeps |
| Typical lifespan | 5-20 years (varies by type) | 1-5 years with regular use |
| DIY skill level | Beginner - minimal tools needed | Beginner - cut-to-length installation |
| Paintable | Yes (latex types); no (pure silicone) | Rarely |
| Handles door/window movement | No - cracks under repeated flex | Yes - designed for open/close cycles |
| Removal and replacement | Moderate - requires scraping | Easy - peel or unscrew and replace |
Silicone caulk bonds well to non-porous surfaces like glass and metal; latex (acrylic) caulk is easier to paint and clean up with water, making it a common choice for interior trim work. For exterior applications exposed to temperature swings, a siliconized latex blend often balances flexibility with paintability.
Weatherstripping comes in several forms: V-strip (tension seal) works well along door-frame channels and the sides of double-hung windows. Foam tape suits irregular gaps on less-used doors. Door sweeps seal the gap at the bottom of an entry door. Compression bulb seals are common in pre-hung door kits and replace easily when worn.
Where to Apply Each Around Doors and Windows
Where Caulk Belongs
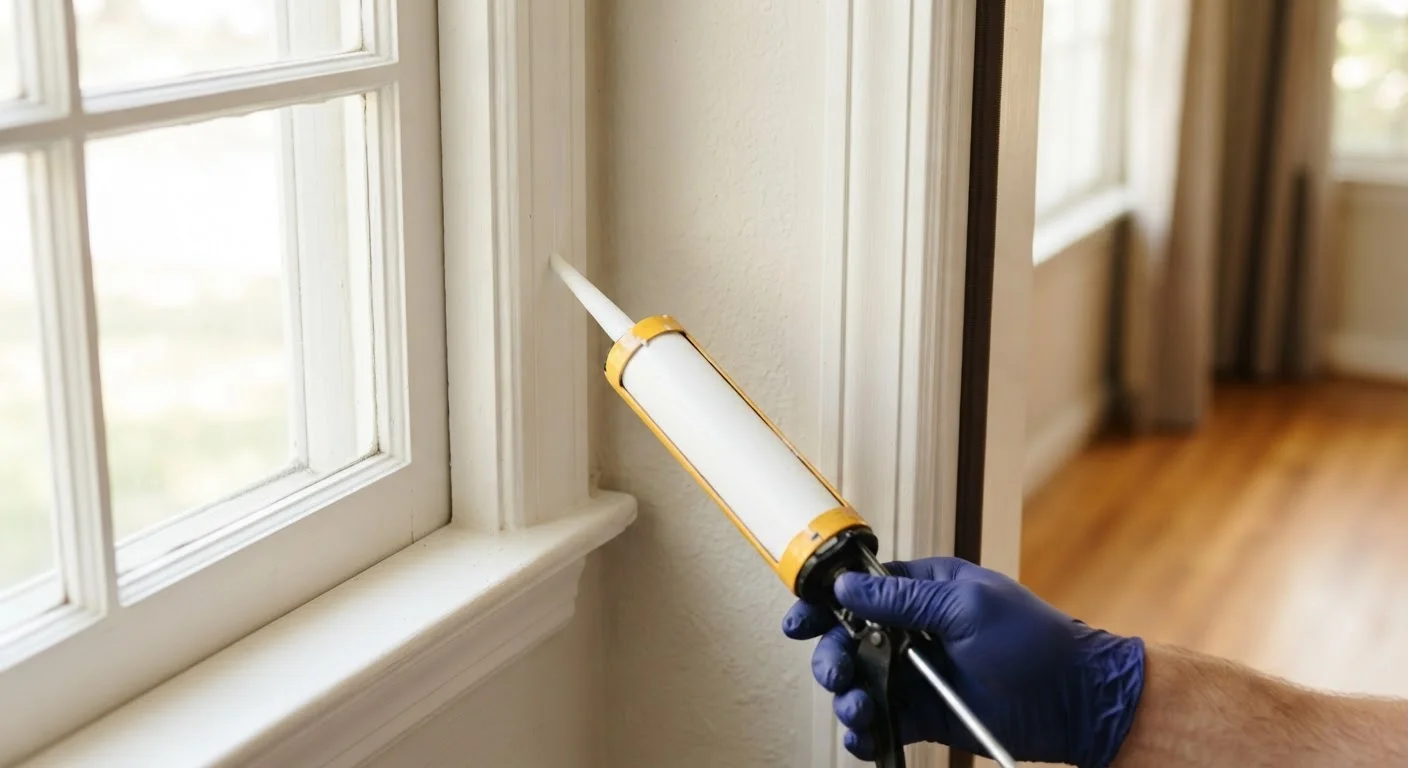
- Exterior window frames: The joint where the window frame meets the siding or brick mold is stationary and exposed to weather - caulk is the correct seal here.
- Interior trim gaps: Small gaps between window or door trim and the wall surface benefit from a paintable latex caulk bead.
- Sill plates and foundation sills: Where wood meets concrete at the base of framed walls, caulk blocks a common air-leakage pathway.
Where Weatherstripping Belongs
- Door stop molding: The three sides of a door frame where the door slab presses closed should be fitted with compression or foam weatherstripping.
- Door bottom: A door sweep or threshold seal closes the gap below the door slab that caulk could never span without being torn away.
- Operable window sashes: The moving sash of a double-hung or casement window needs V-strip or foam tape, not caulk - caulk would seal the window shut.
Don't Caulk Weep Holes Shut
Window frames and brick veneer walls have small openings called weep holes that allow moisture to escape. Inadvertently sealing these with caulk can trap water inside the wall assembly, leading to rot or mold. When caulking around exterior window frames, leave these small channels clear. If you're unsure which openings serve a drainage function, consult a contractor before sealing.
Installation Tips and Common Mistakes
Caulk adheres poorly to dirty, wet, or painted-over surfaces. Always clean and dry the joint, remove old caulk with a utility knife or caulk remover tool, and apply in moderate temperatures - most caulk products specify a minimum application temperature, typically around 40°F to 50°F. Apply in a steady bead and smooth with a wet finger or caulk tool before it skins over.
Weatherstripping installation is generally more forgiving, but a few mistakes are worth avoiding. Measure the door or sash perimeter before cutting; a gap in coverage at a corner defeats the purpose. For adhesive-backed foam, press firmly along the entire length and allow it to seat before operating the door. Check the door's closing pressure - too much compression can make a door hard to latch, while too little leaves gaps.
Inspect both types of seals annually. Caulk can crack as a home settles; weatherstripping compresses permanently over years of use. A quick flashlight check in a darkened room - looking for light around door edges and window frames - is a practical way to spot failures before the heating season.